If you're brand new to yoga, it's important that you start off by learning the essential postures so that way you can feel comfortable in a class or practicing on your own at home.
I've put together 12 poses that are most commonly used and vital for beginners. I've even arranged them in order of a sequence/flow so you could use this as a practice on it's own! Hold each pose for 5-10 breaths. Repeat as often as needed. Have fun!
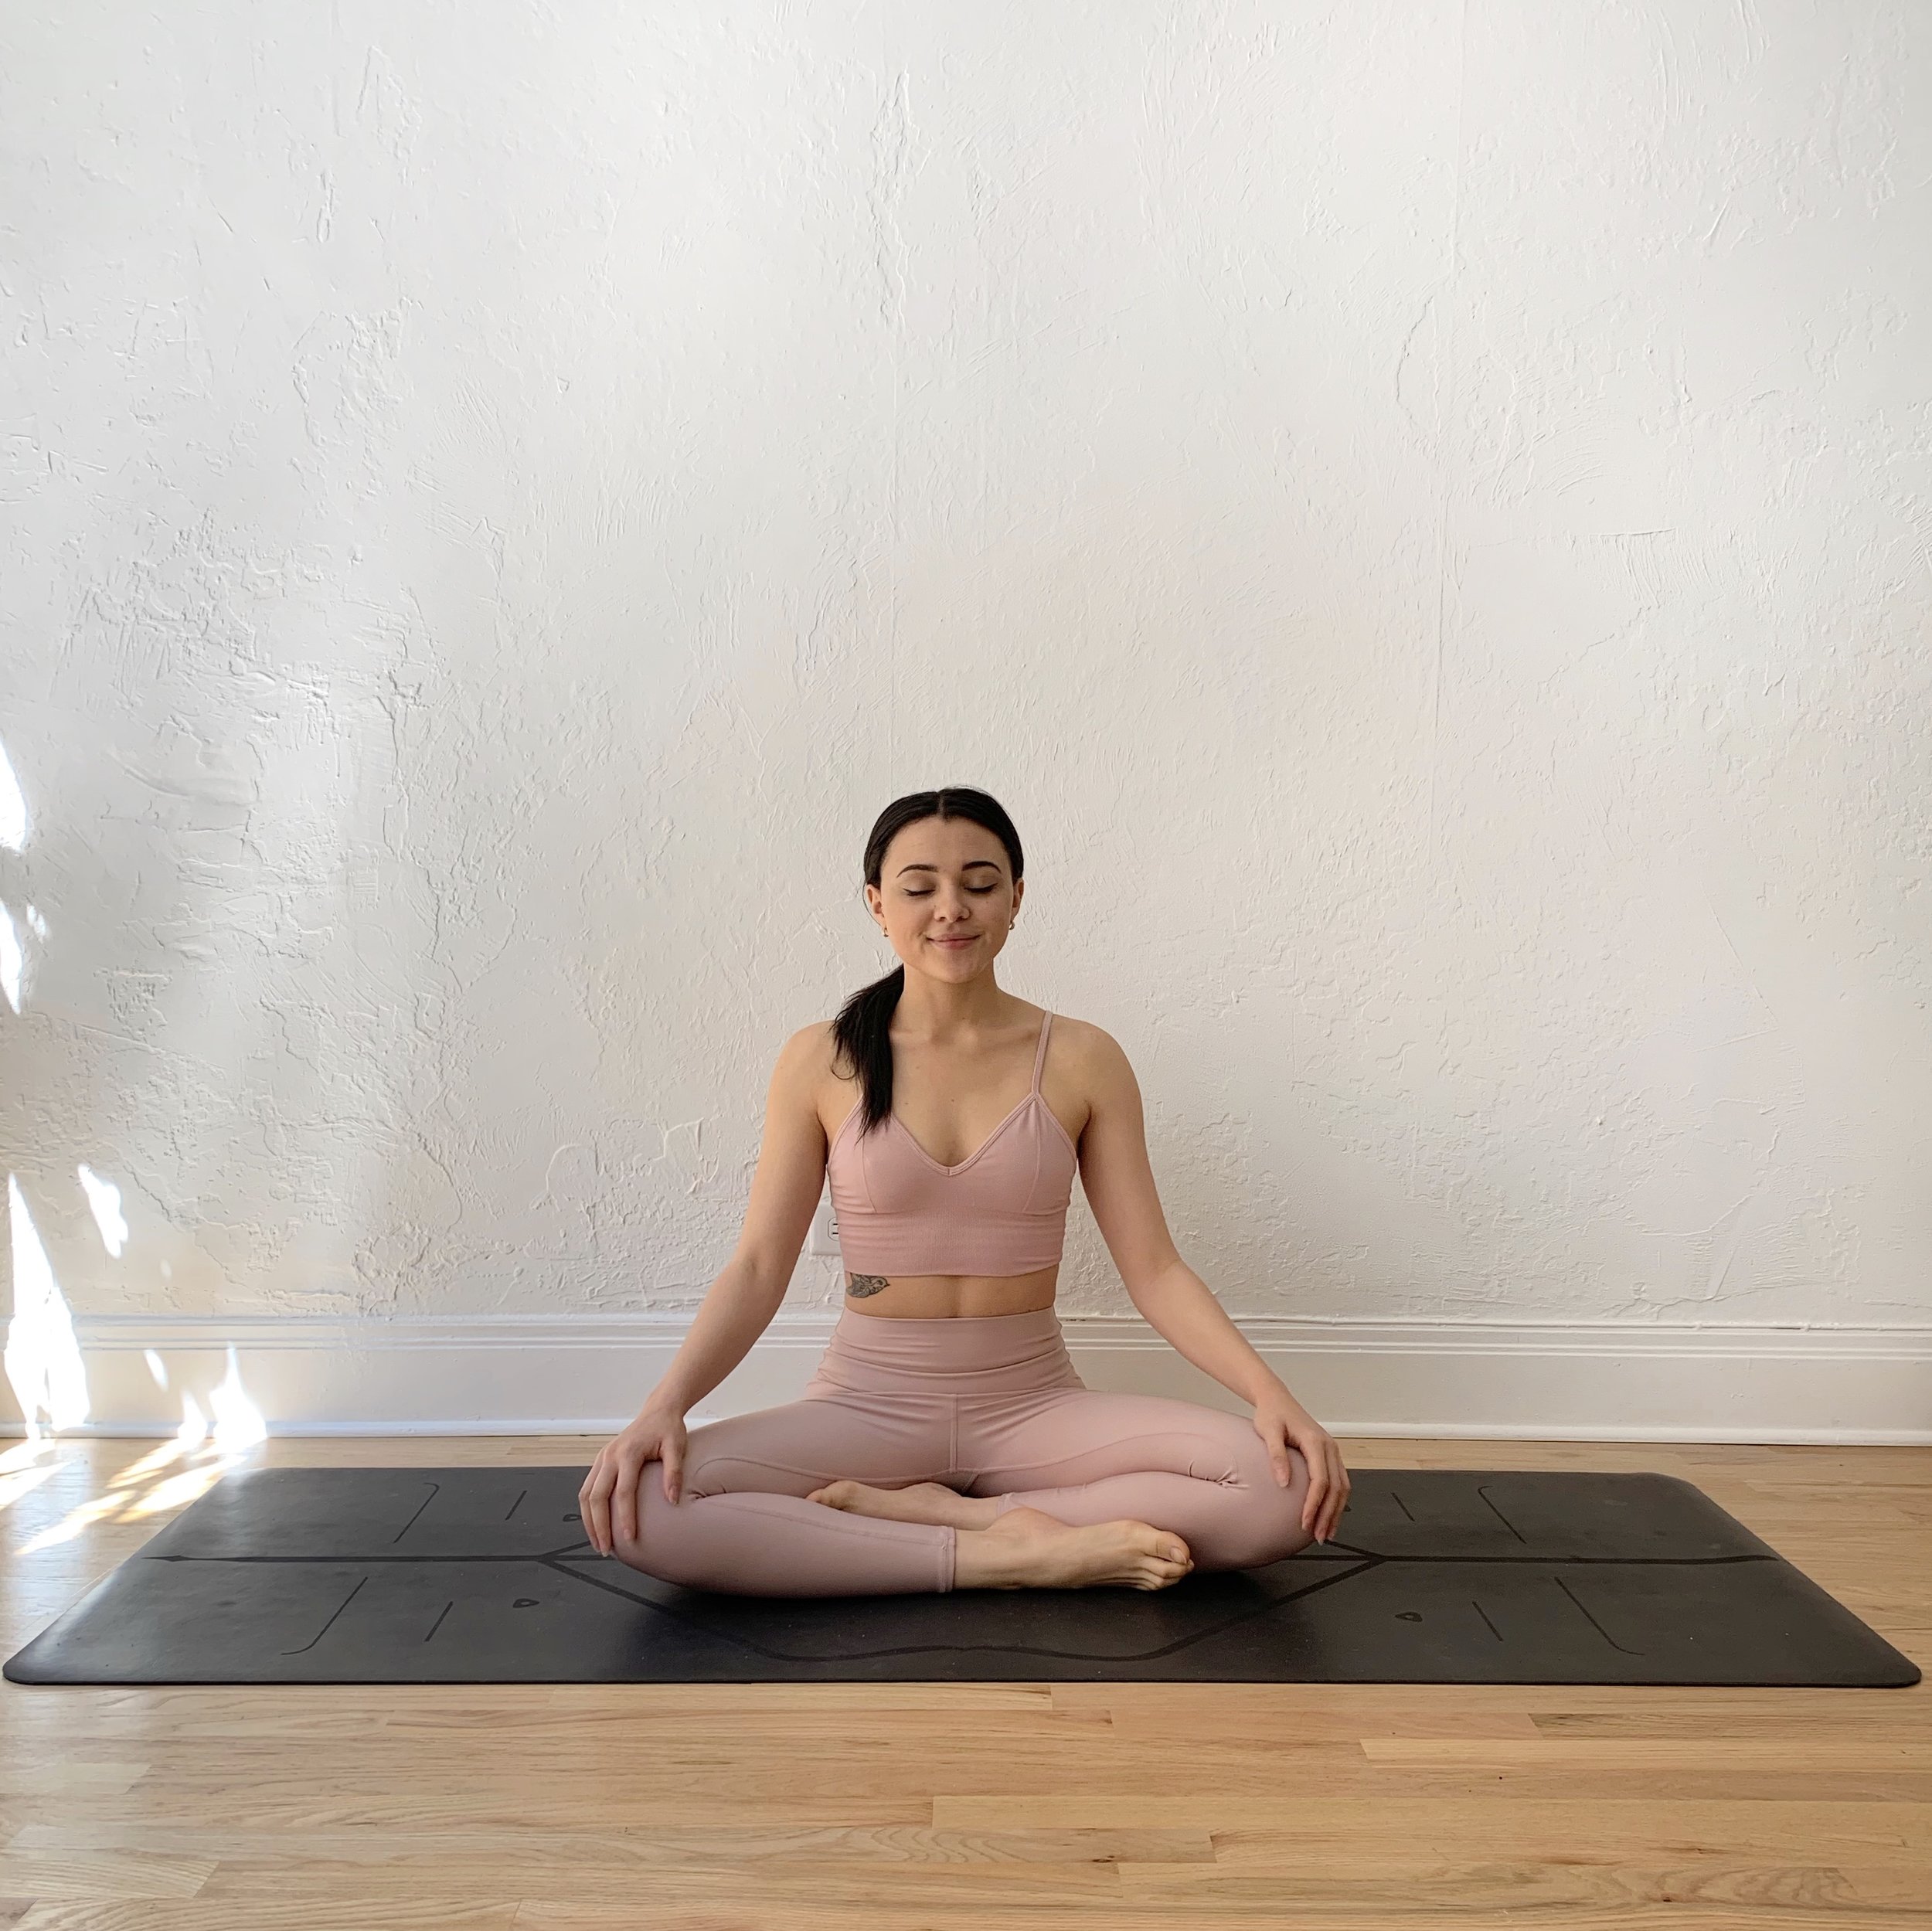
1. Easy Pose (Sukhasana)
Begin sitting on the mat with your sit-bones on the front edge of a firm cushion or folded blanket.
Cross your shins parallel to the mat, bringing each foot beneath the opposite knee. Try to bring your feet in line with the knees.
Lengthen your spine keeping the natural arches in the spine, push your sit bones into the floor to root down and create length through the crown of your head. Firm your shoulder blades in.
Place your hands on your lap or knees with palms up (more open), or palms down (calming).
Try to switch the cross of your legs when you next come into the pose.

2. Cow Pose (Bitilasana)
Begin on all fours with your hands under your shoulders and your knees under your hips.
As you inhale, roll your shoulders away from your ears, look up and arch your spine.
Stay here for at least three deep breaths. Repeat 3-4 times.
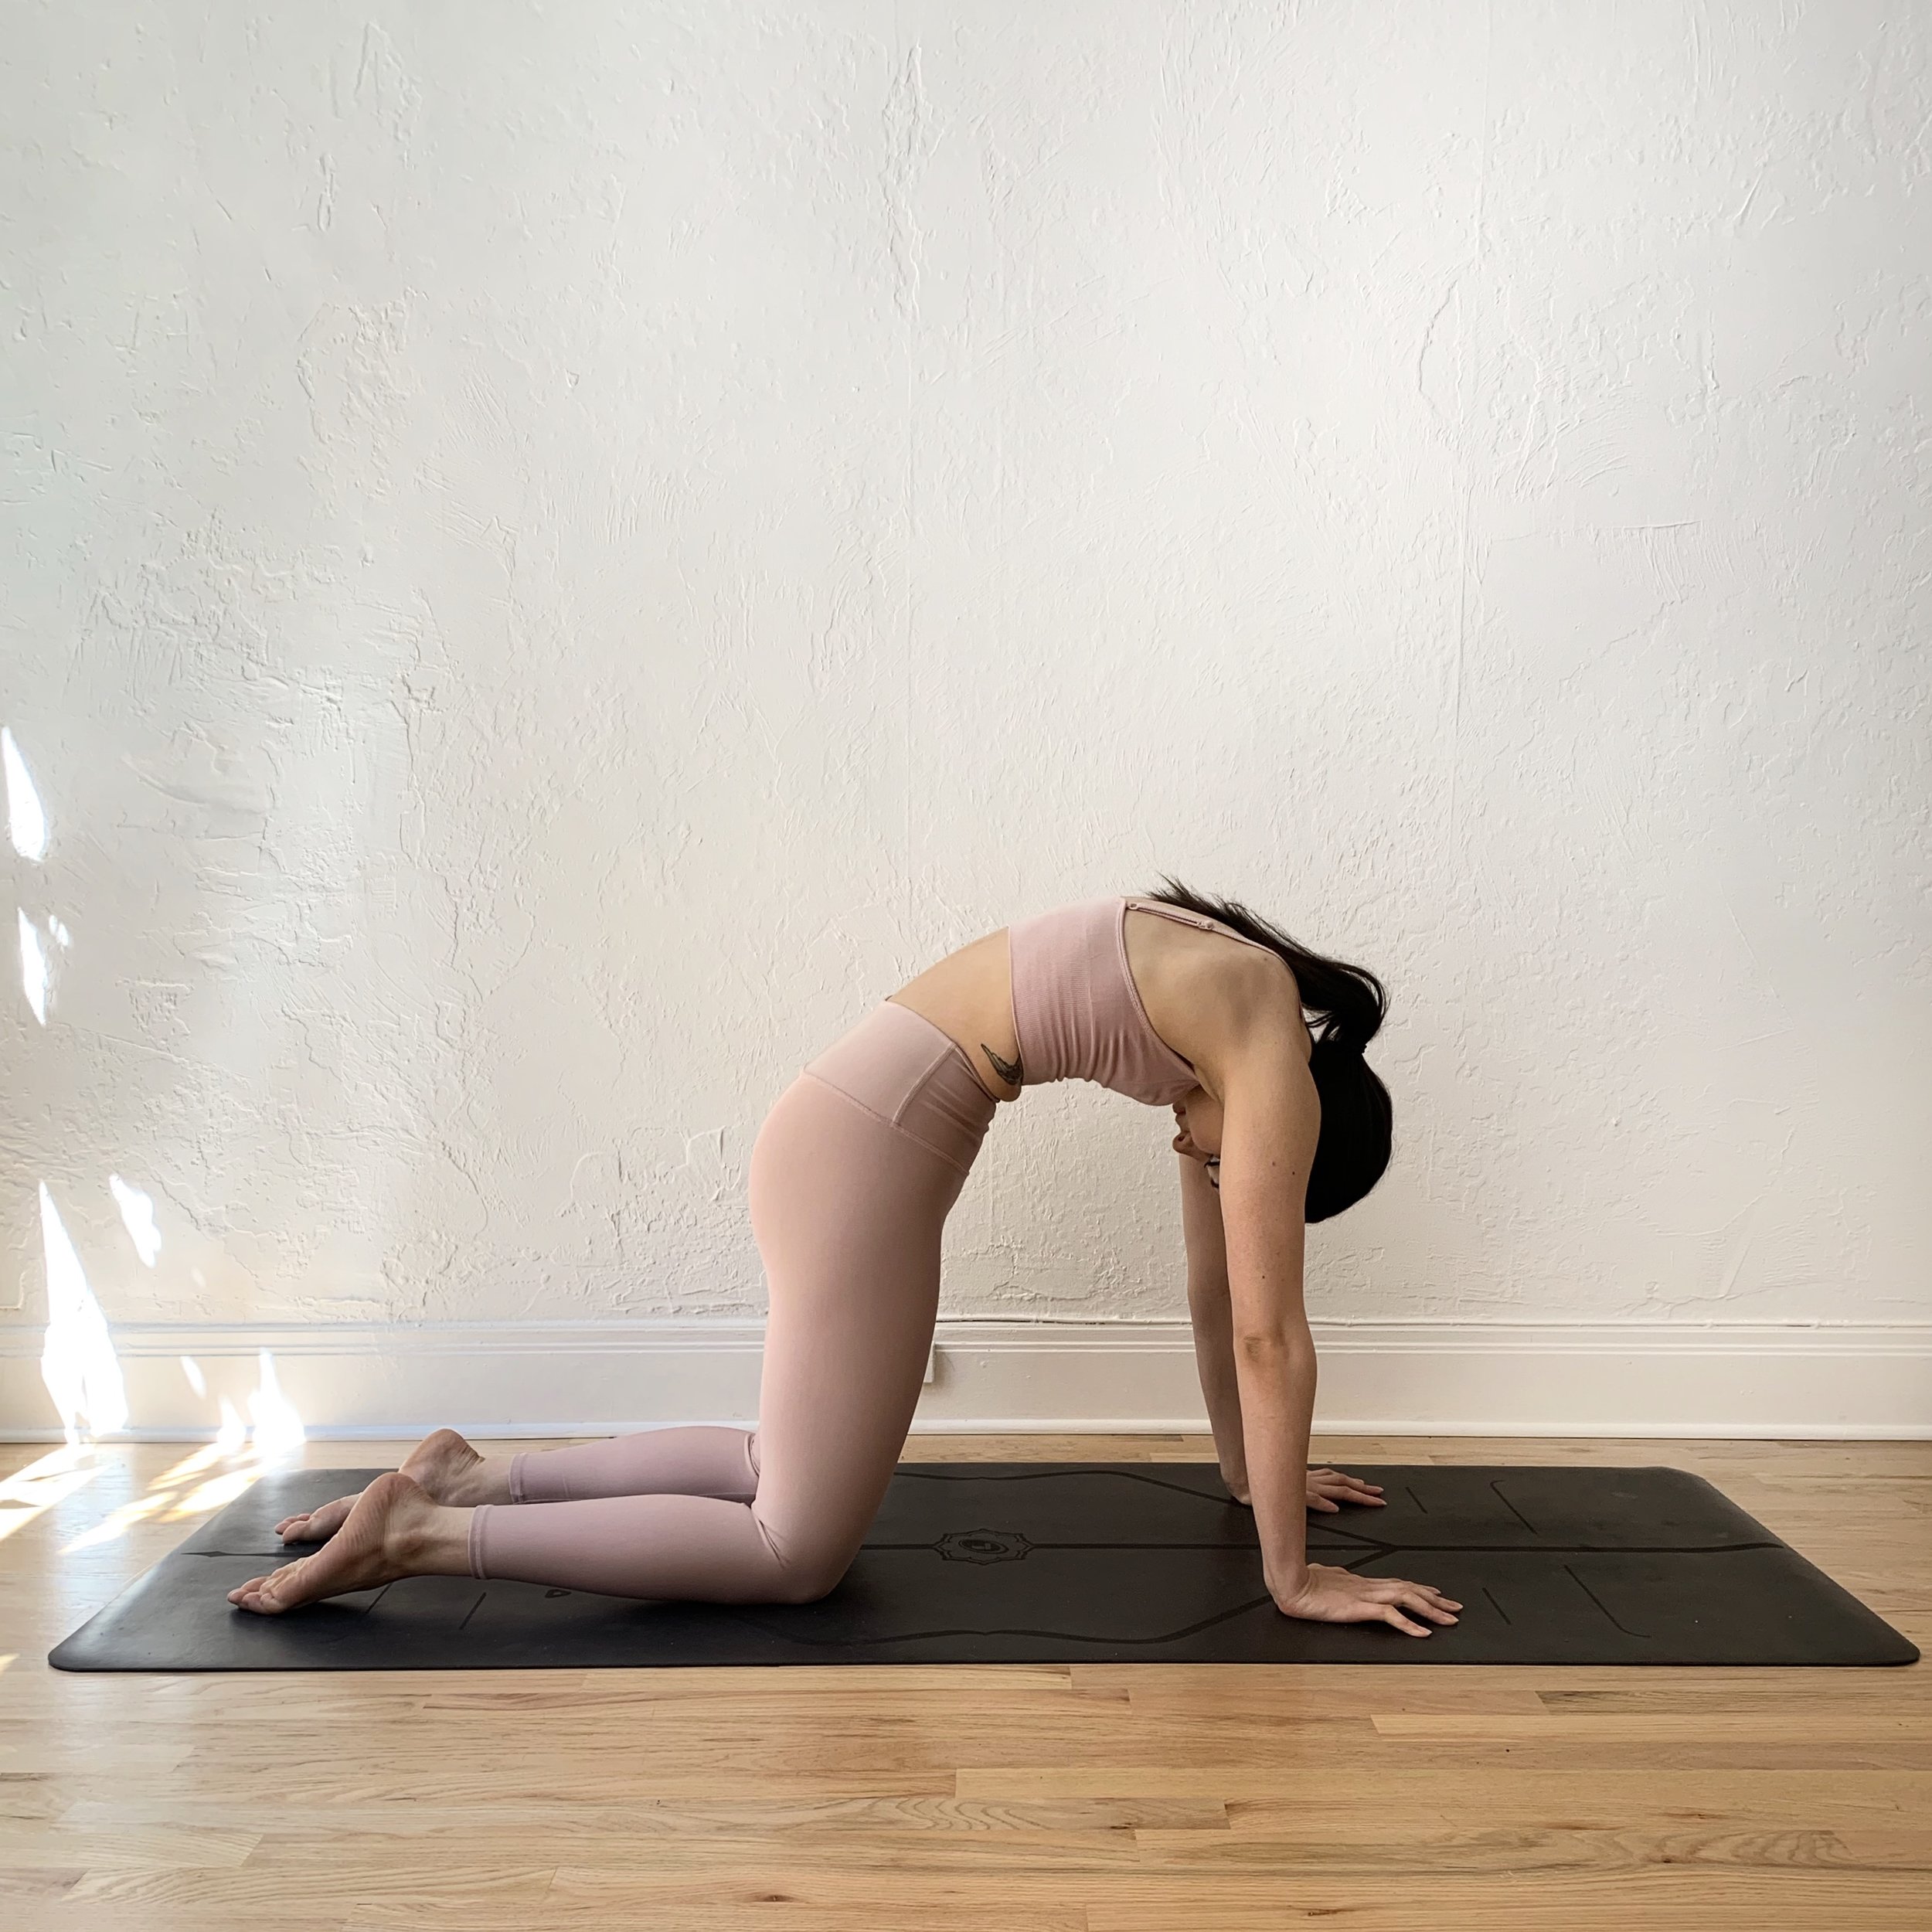
3. Cat Pose (Marjaryasana)
Begin on all fours with your hands under your shoulders and knees under your hips.
Take a deep breath to inhale.
As you exhale, pull your belly button to your spine and press the floor away with your hands and knees, rounding your spine like a cat, stretching your lower back and spine.
Take at least three deep breaths. Repeat 3-4 times.
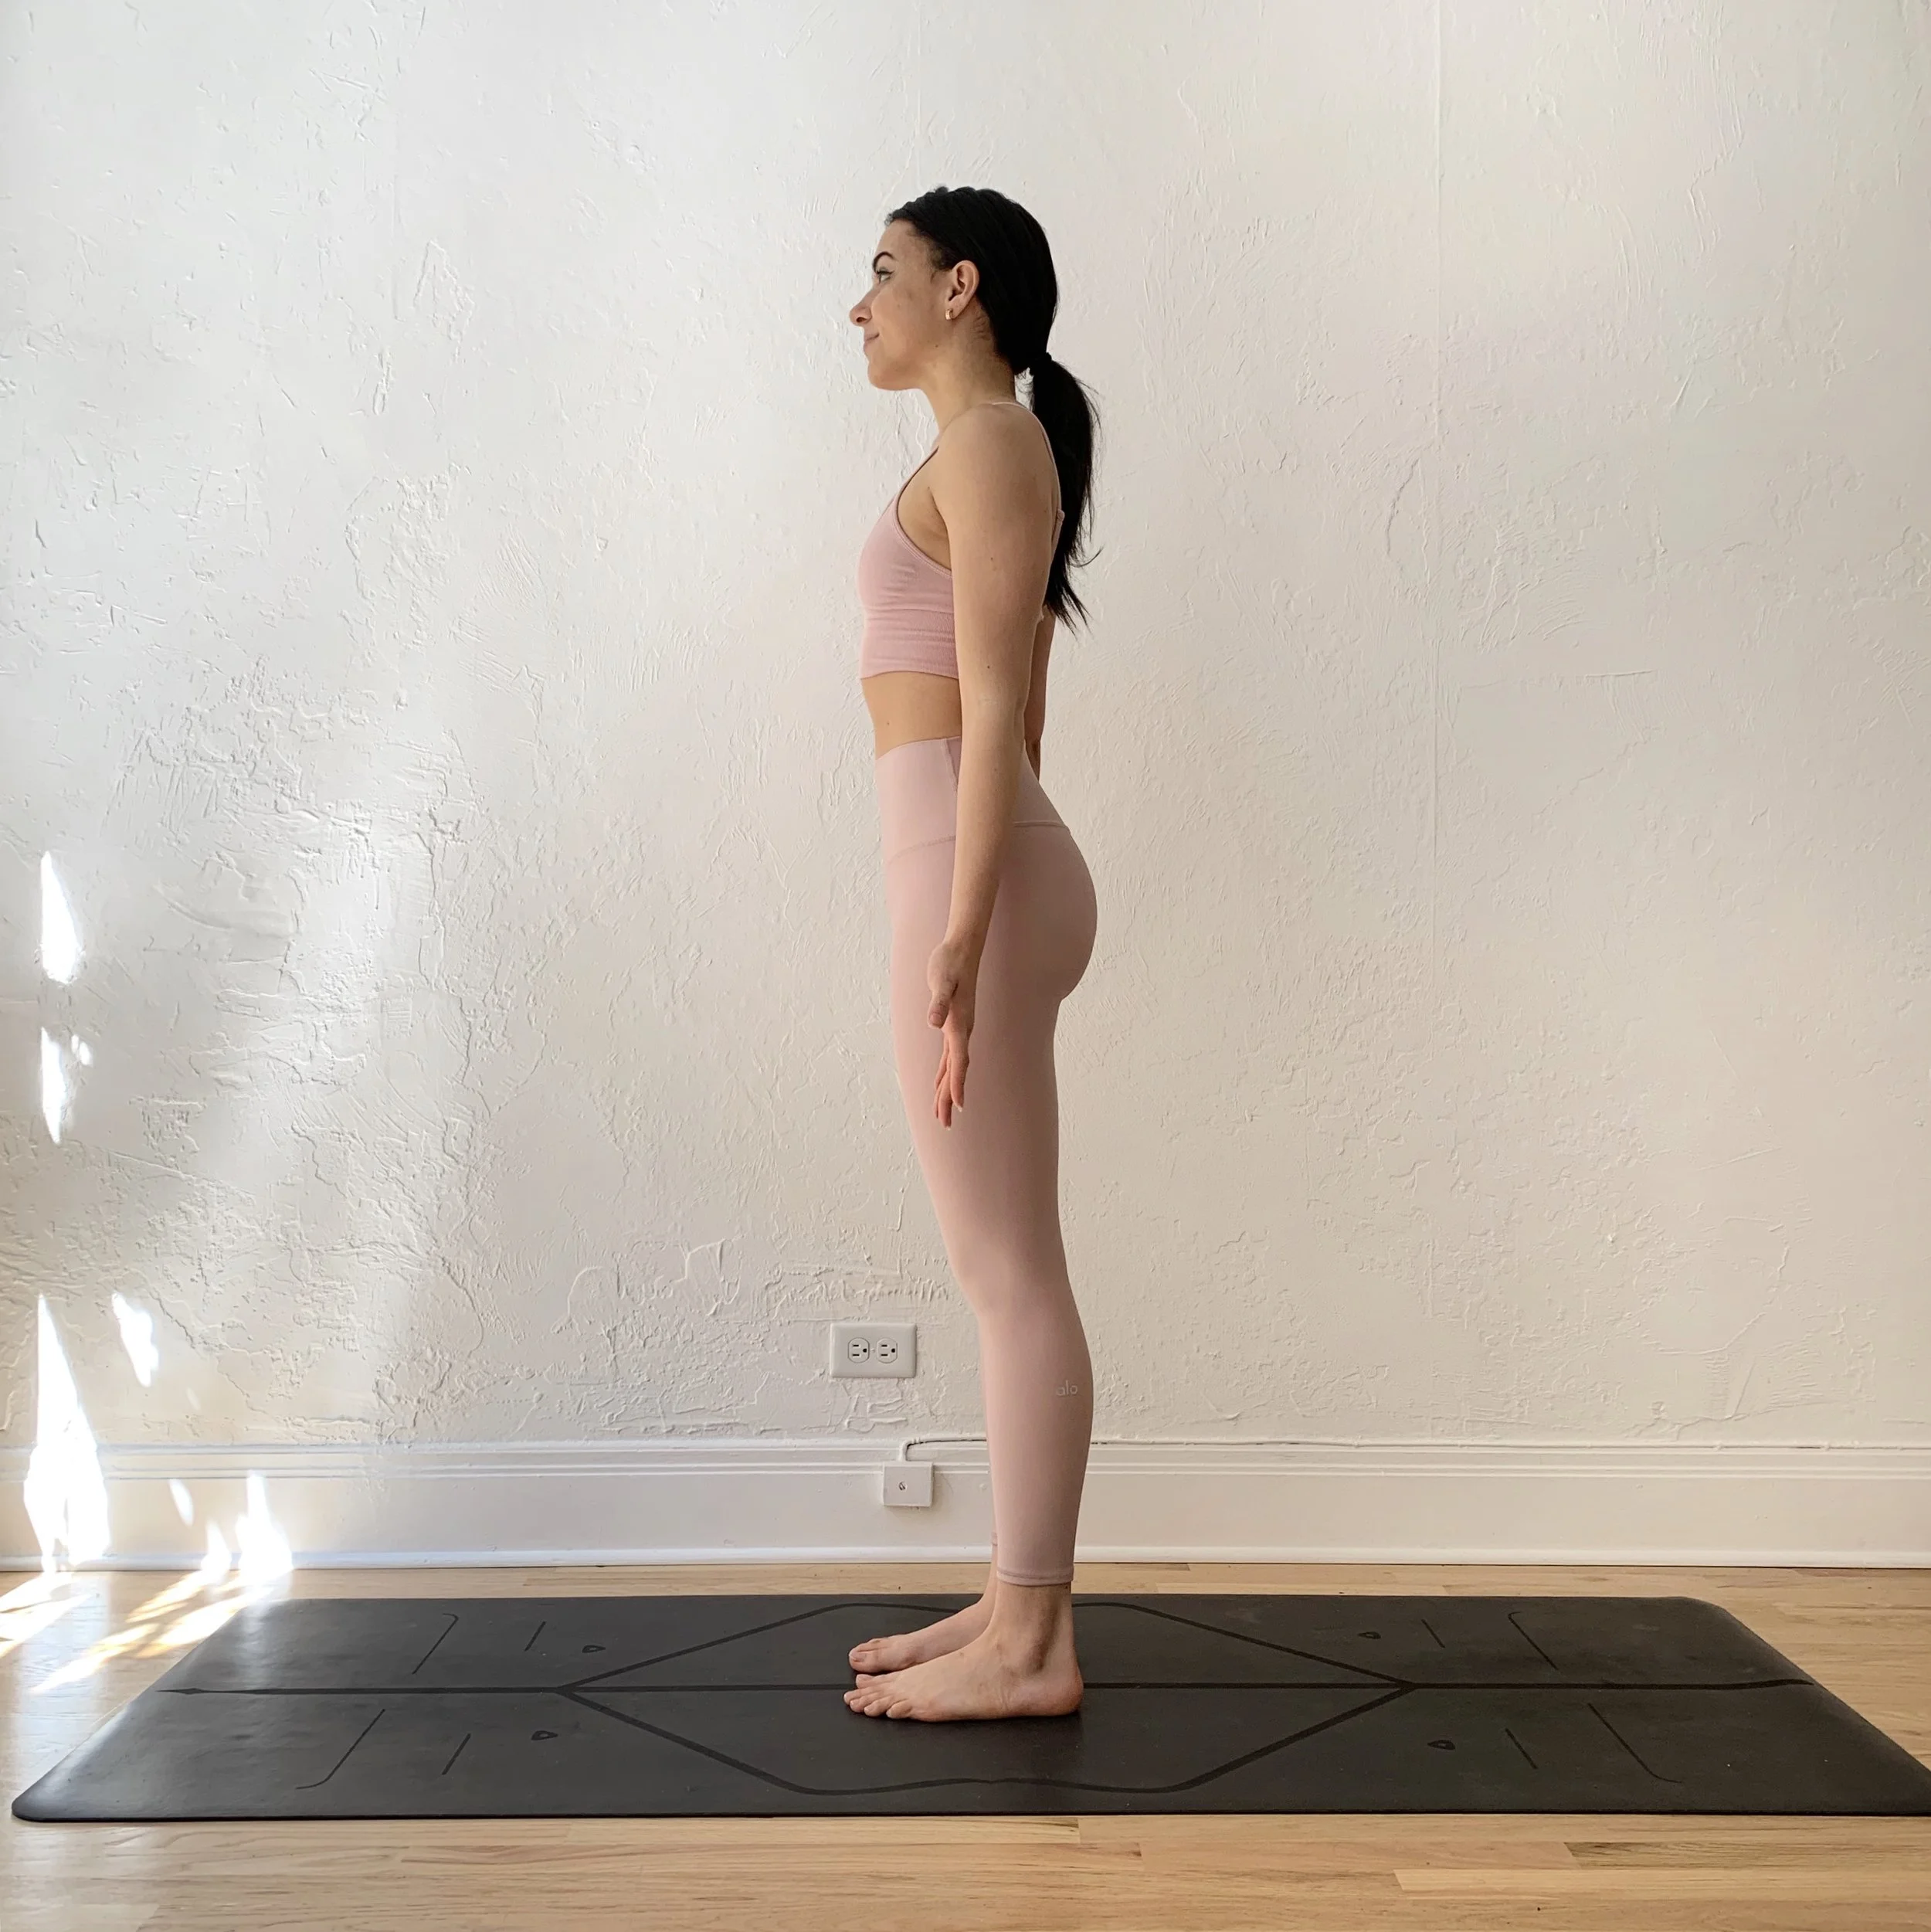
4. Mountain Pose/Upward Salute (Tadasana/Urdhva Hastasana)
Start in Mountain Pose by standing with your feet together and arms by your side.
As you inhale, sweep the arms out to the sides and up toward the sky. You can finish with your arms parallel above your head (palms facing each other) or when your shoulders allow, your palms can be pressed together.
Fully extend your elbows and reach up through your fingertips.
With your neck still being an extension of your spine, bring your upper chest towards the sky and bend your back slightly (the bend comes from your middle/upper back, not your neck). Be careful not to over-arch your lower back or compress your neck!

5. Chair Pose (Utkatasana)
Begin standing in Mountain Pose.
Bend your knees, sink your hips back like you are sitting down in a chair and reach your arms high, framing your face.
Look in front of your knees and make sure you can see your toes. If you can’t, sit your hips back until you can, placing your body weight evenly into the heels.
Drop your shoulders down away from your ears and look up slightly. Stay here for at least 3-5 deep breaths.
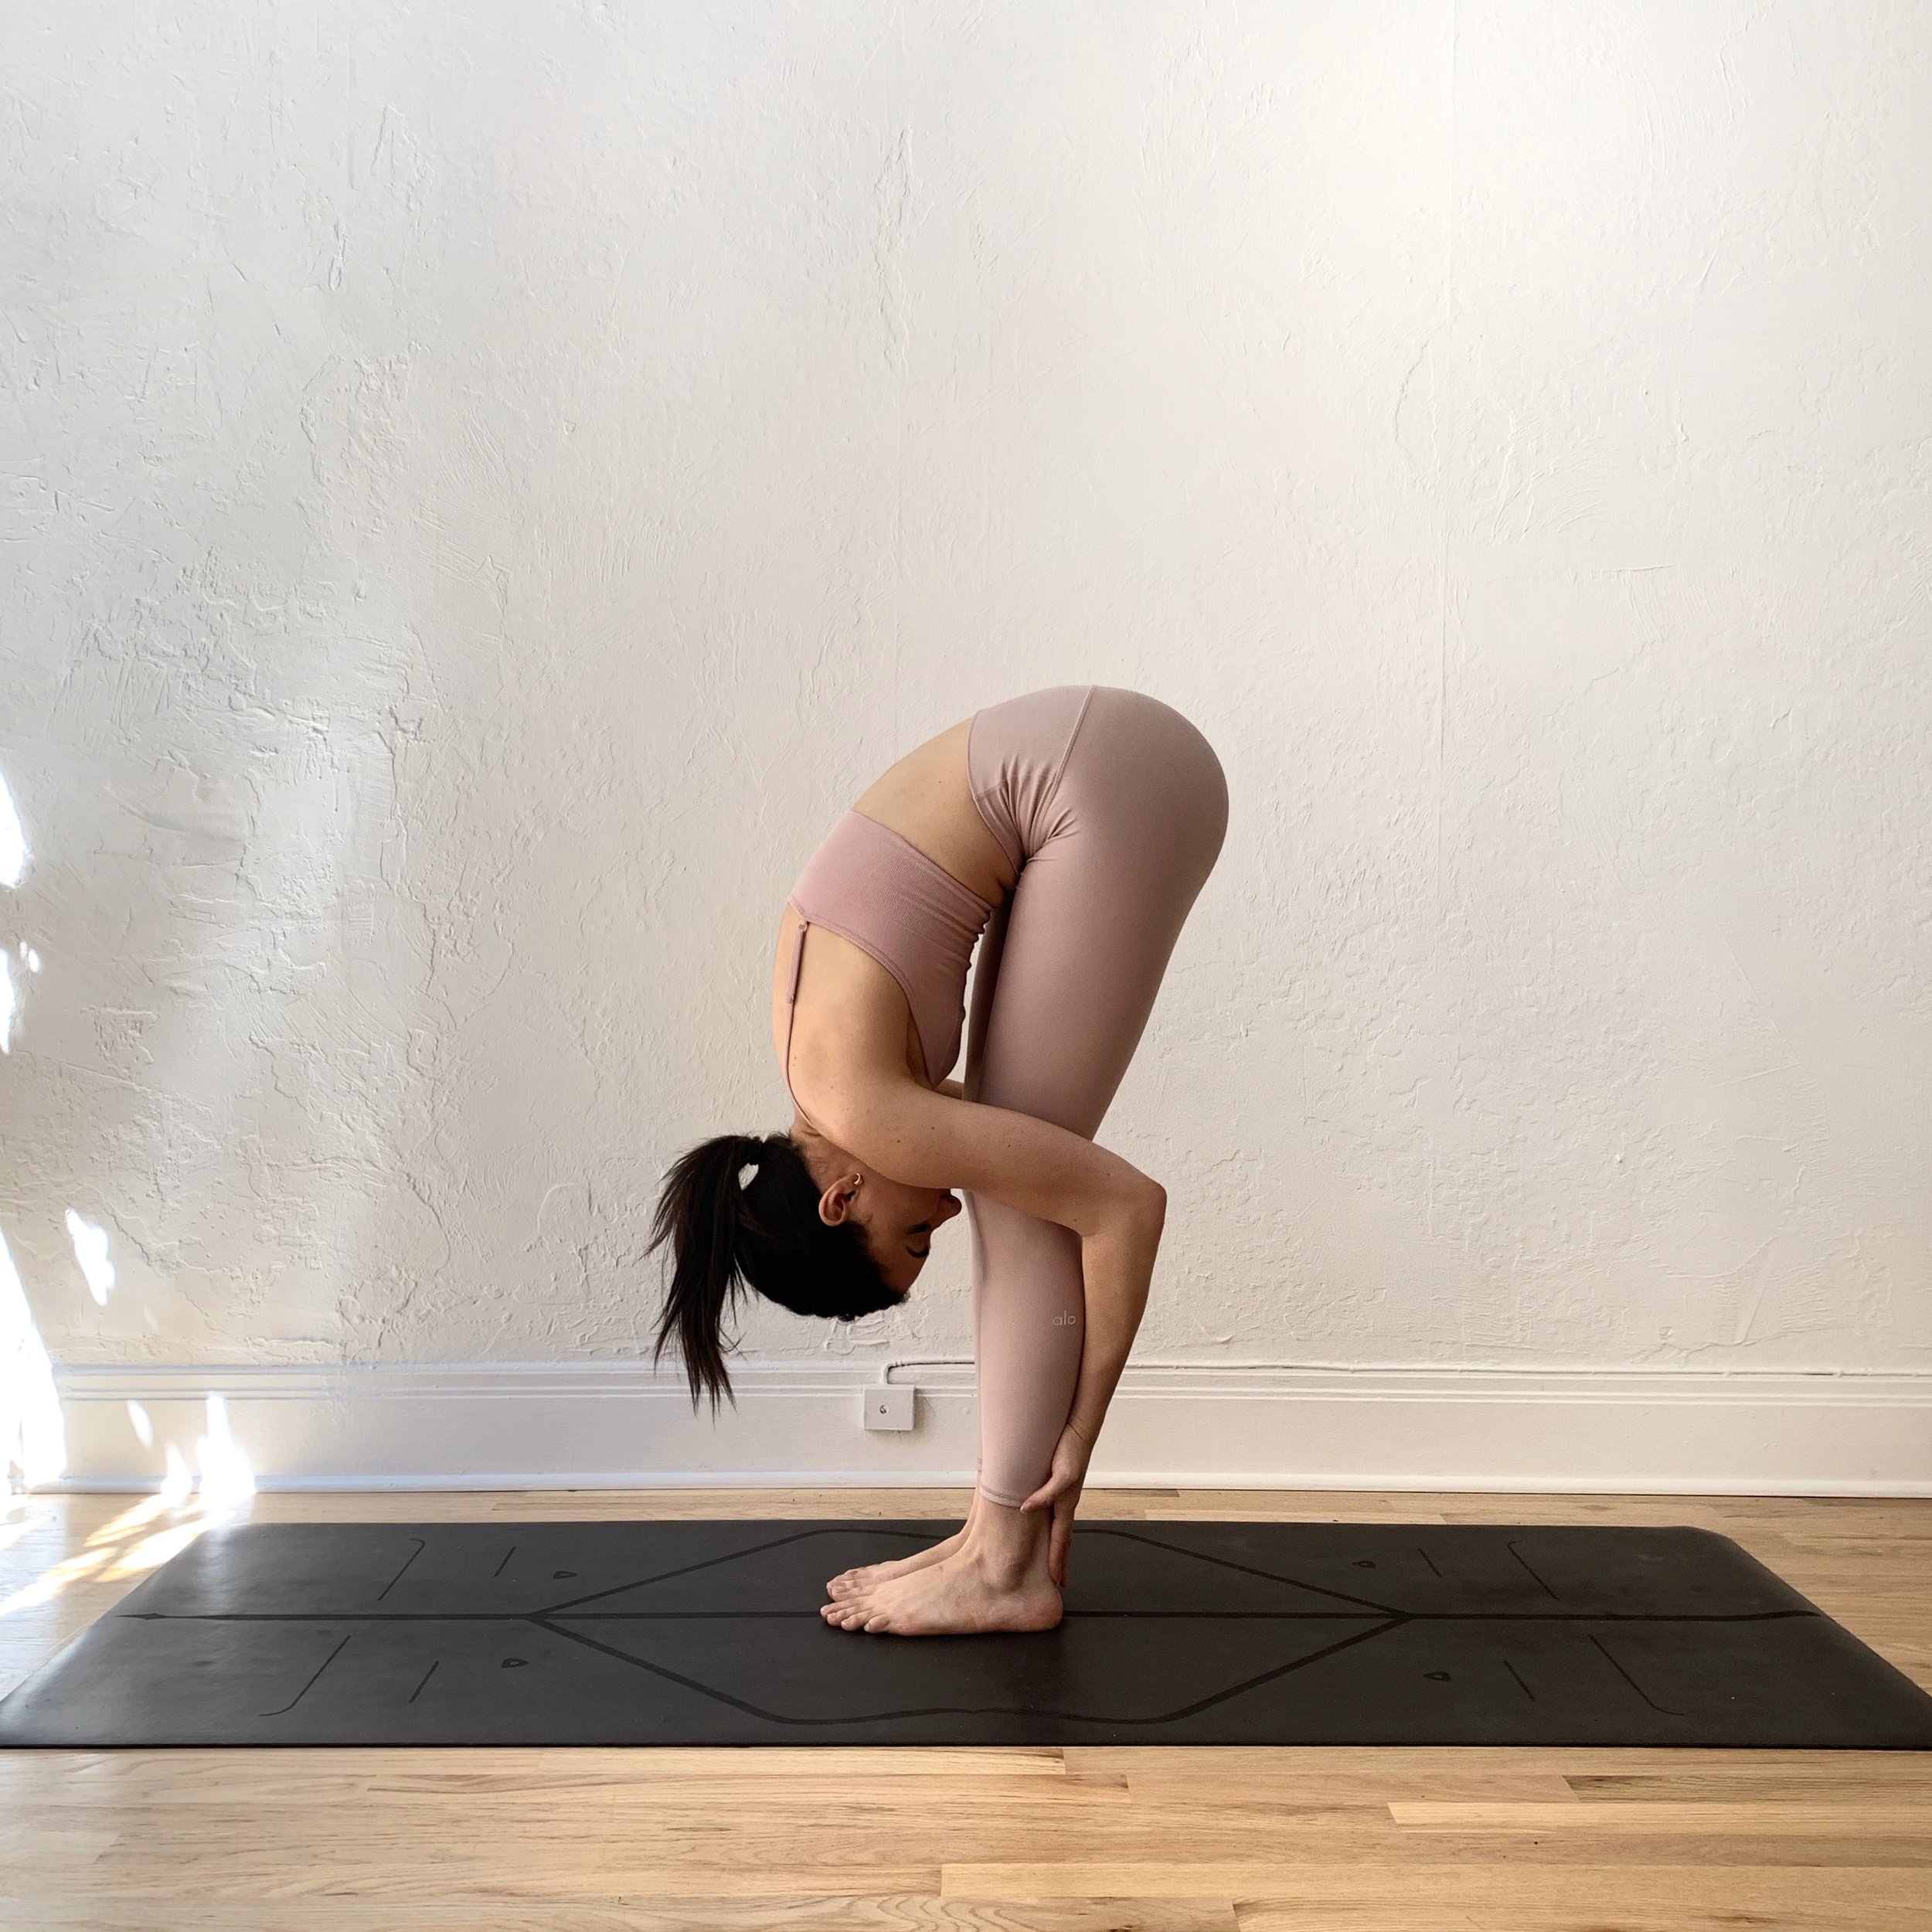
6. Standing Forward Bend (Uttanasana)
Begin standing in Mountain pose.
As you take a deep inhale, reach your arms up over your head, framing your face.
As you exhale, engage your core by bringing your navel to your spine and swan dive over your legs with a flat back.
Place your hands on the floor slightly in front of or behind your feet. Press all four corners of both feet into the ground and lift your hips up and back toward the ceiling. Relax your head and neck. Breathe here for at least 2-3 deep breaths.

7. Four Limbed Staff Pose (Chaturanga Dandasana)
Begin by laying facedown on your yoga mat with your arms alongside your body.
Bend your elbows and slide your hands up to your chest level with your palms flat, facing down.
Tuck your toes under and on an exhale, lift your torso in and up and press your palms and toes down, as you lift your whole body a few inches above the mat.
Forming a straight long line from your head to heels and continue to lift your knee high, engaging the front of your thighs.
Try to hold this position for 20-30 seconds and then relax back down onto the mat and repeat for several times.

8. Cobra Pose (Bhujangasana)
Lie face down on your stomach with your legs straight back, spread at hip-width apart and tops of your feet facing the mat.
Resting your forehead on the mat, relax your neck and shoulders, bend your elbows and place your forearms on the yoga mat with your palms facedown and positioned near our head.
Breathing diaphragmatically, as you inhale, pull down your shoulders and engage your back muscles, press your forearms against the mat and raise your upper-body off the mat. Looking straight ahead, keep your forearms and the front of your body pelvis on the floor, try to relax your shoulders and keep them down away from the ears.
Exhale and slowly lower your head and upper-body and torso back down to the yoga mat. Repeat this pose 3-4 times. Each time stay in the last raised position for 5-6 breaths.

9. Downward Facing Dog (Adho Mukha Shvanasana)
Start on your hands and knees. Straighten your arms but do not lock your elbows. Align your wrists directly under your shoulders and your knees directly under your hips. Your middle fingers should be pointing directly to the top edge of the mat.
As you exhale, lift and straighten (but don’t lock) your knees. Stretch your elbows and relax your upper back.
Spread your fingers wide and press them firmly through your palms and knuckles to distribute your weight evenly across your hands.
Press your heels toward the floor to feel a deep stretch in your hamstrings and your head toward your feet. Your body should form the shape of an “A”.
Repeat steps 1-4 three times and then stay here for 5-6 breaths.

10. Warrior I (Virabhadrasana I)
Begin in Mountain Pose by standing with both feet together, shoulders down and spine straight.
Step the left foot toward the back of your mat to come into Warrior 1.
Bring the left heel to the floor and turn the left toes out to about a 45-degree angle.
Begin to bend the right knee over the right ankle. You may need to adjust the length of your stance (front to back). You can also widen your stance (side to side) for greater stability.
As you inhale, bring your arms up over your head. The classic position is with the palms touching overhead, but you may choose to keep the palms separated at shoulder’s distance apart or even bend at the elbows.

11. Warrior II (Virabhadrasana II)
Begin in Mountain Pose, step your left foot back so that it’s parallel to the back of the mat.
Feel the inside of your thighs open towards the outside edge of your feet. Extend your arms out through the fingertips as you draw the shoulder blades together. Let the top of the hsoulders drop away from the ears. Gaze over your right middle finger.
Ground down the outside edge of the back foot and draw up through the inside of the arch.
Shoulders over hips, elbows roughly over knees. Head above tailbone. Smile, above all.

12. Final Resting Pose (Savasana)
Lie down flat on your back face up, separating legs and letting the fleet splay apart. Place arms along the sides, palms facing up.
Place a small pillow or folded blanket under your head, if you need one, and another one under your knees for added comfort to relax.
Close your eyes and relax. Release any tension from the body.
Take a couple of big deep breaths, lengthening your spine as you exhale.